Sep 292011
 

A few days ago I commented in the Shopping for Savings BlogFrog community that I was planning to share some information about Pinterest.  Most of those who responded either didn’t know what Pinterest was or didn’t really understand the point.  I’ve heard more than one person on Facebook in the past few weeks say “I just don’t ‘get’ it”.  Being confused by it is completely understandable; that’s exactly how I felt when I heard about it a few weeks ago.

Now, however, I’m in love.  And maybe just a smidge addicted.

Do you remember in “the old days” when you saw something in a magazine and thought to yourself, “Hey, I’d like to buy/try/make/bake that”?  You’d tear whatever it was out and stick it on the fridge or a cork board, tuck it into a binder or plastic bin – basically you’d tuck it away for “someday”.  (And, if you are anything like me, you’d promptly forget about half of them.)

Well, think of Pinterest as big ‘ole virtual collection of cork boards for the internet.  You get to put up as many boards as you’d like and you can look at the boards that belong to everyone else also.

So how does that actually work?

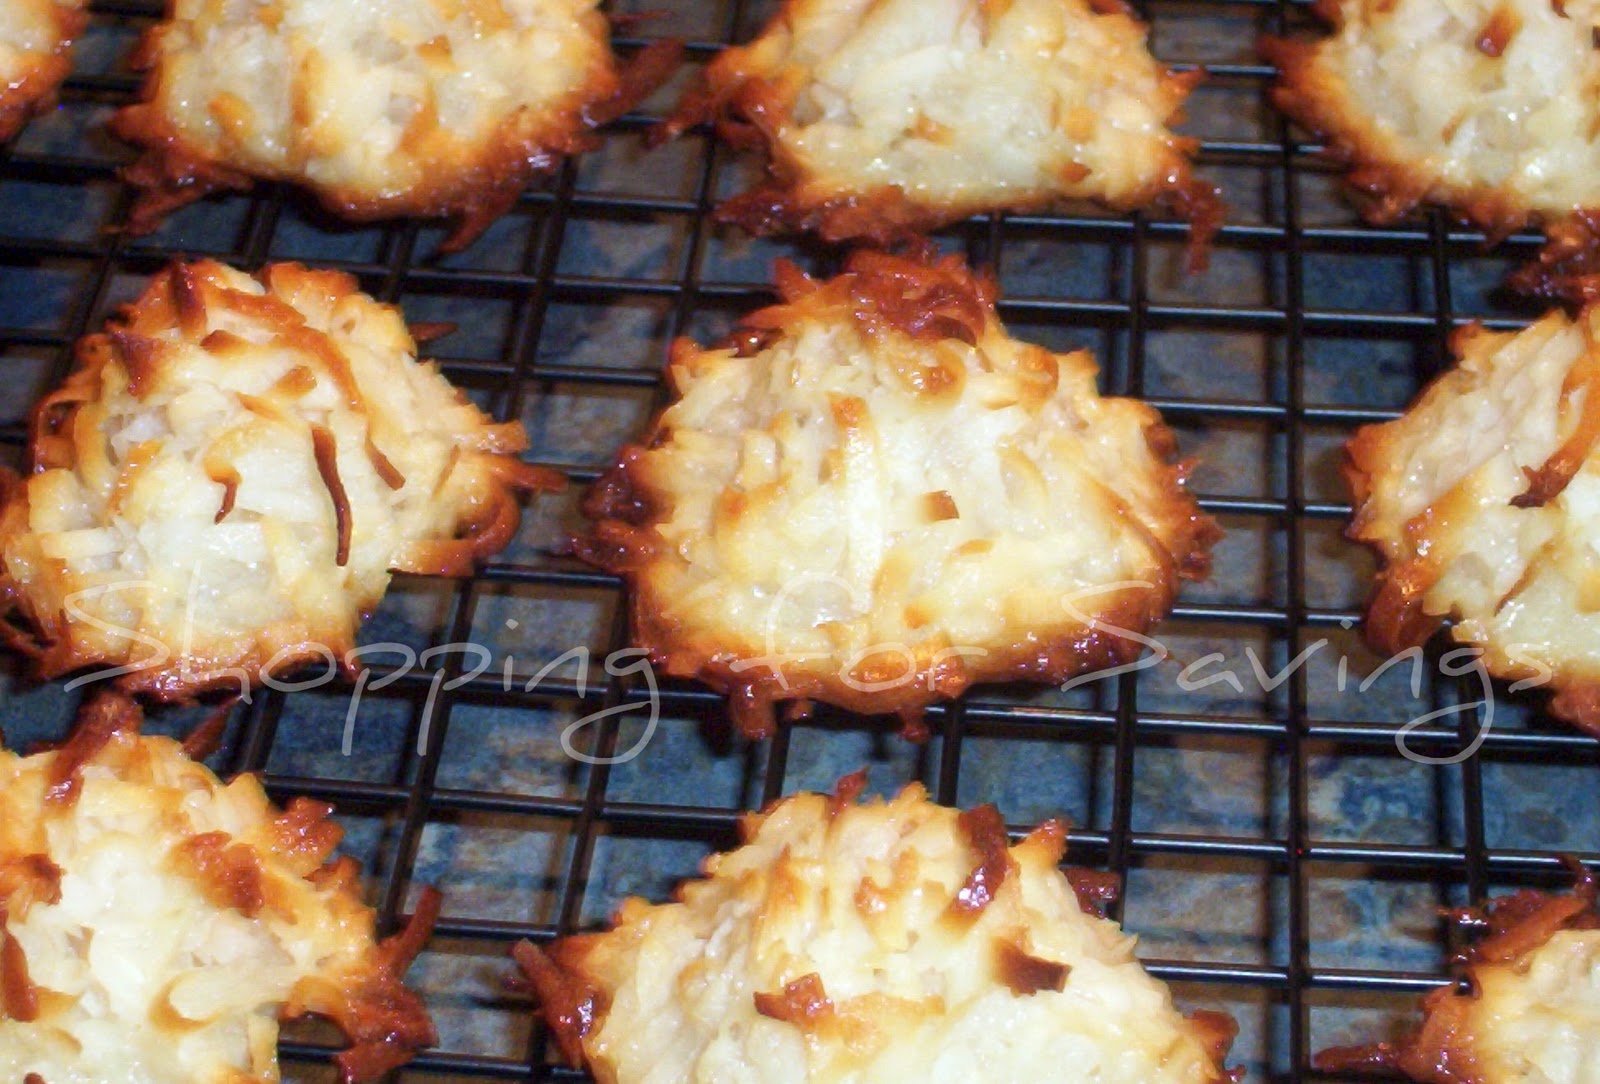
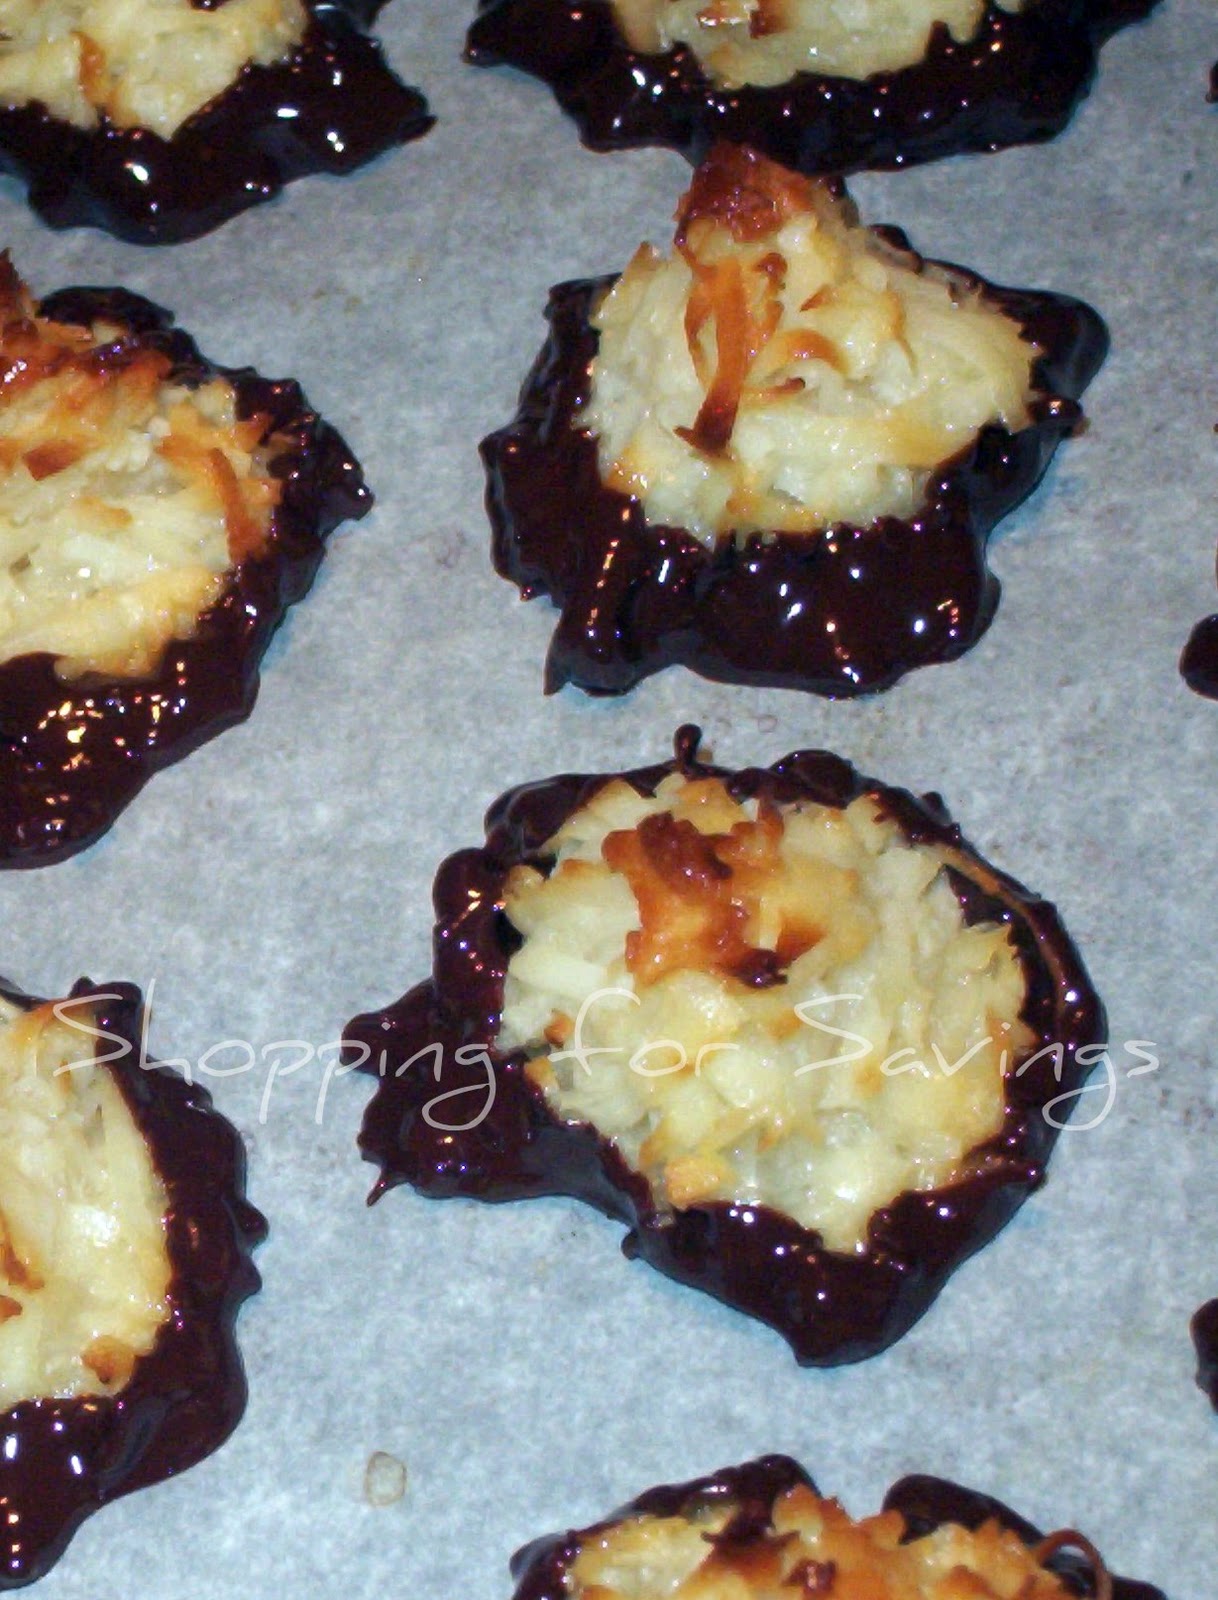
Let’s say you really love Christmas decorations.  So you create a board where you can “pin” all the cute decorating ideas you run across on blogs, websites, Etsy, etc.  The image will then show up on your pinboard and when you’re ready to go back and order/make/consider the item again, you can just click your image and it will take you directly back to the page you found it on.

You can also follow other folks who are on Pinterest; if you find a person that has similar tastes to you and you follow them, every time they pin something new it will show up in the “feed” on your home page, giving you the option to pin it yourself if you like it.  (Don’t worry about having too much “stuff” in your feed; you can pick and choose which pinboards to follow for each person so that you’re only receiving relevant content.)

If you’re planning a wedding, shower, birthday or other party there are thousands of pins to jump-start your planning.  Like DIY and crafts?  You’ll be in Heaven with all the new ideas.  Stuck for what to make for dinner?  Search for a recipe and you’ll have endless possibilities.

(By the way if you have an Etsy shop joining Pinterest is a great way to self-promote.)

Sep 272011


Pin It

My husband has a bit of a sweet tooth, especially when it comes to baked goods.  It’s not uncommon to hear, “You know what would really hit the spot?” followed by either peanut butter cookies, brownies or red velvet cupcakes with cream cheese frosting.  That’s basically his way of saying “Any chance you might walk into the kitchen and then magically make something appear?”
I totally do not mind these requests since I love to bake, especially for him.  Every once in awhile, though, he asks for something a little bit different – like macaroons.  The first time he asked for them I had to go searching for a recipe; I wasn’t a huge coconut fan when I was younger so I hadn’t made them before.  I found one on Brown Eyed Baker that is fairly easy to make (if you don’t read her blog, you should; yummy!) and it has become my go-to macaroon recipe.


I was in a bit of a rush when I made these, so they’re not overly beautiful – but they certainly are tasty (they taste kind of like a grilled Almond Joy bar).  Generally I take my time and make them a little smaller which increases the prettiness factor.

Chocolate-Dipped Macaroons
2/3 cup sweetened condensed milk
1 lg. egg white
1 1/2 tsp. vanilla
1/8 tsp. salt
3 1/2 cups sweetened flaked coconut
10 oz. semi-sweet chocolate, chopped

  1. Preheat oven to 325; line two baking sheets with parchment paper.
  2. In large bowl, stir together the sweetened condensed milk, egg white, vanilla and salt.  Stir in the coconut until well-combined.
  3. Drop dough by small tablespoonfuls onto the parchment-lined baking sheets.  Space the macaroons about 2″ apart.  With wet fingers, shape the dough into haystacks.  Continue to wet fingers as necessary if they start to get sticky or hard to shape.
  4. Bake one sheet at a time for 15-20 minutes, or until they turn a light golden brown.
  5. Cool on cookie sheet for about 2 minutes, until starting to set.  Use a metal spatula to move the macaroons to a wire cooling rack.  Cool for an additional 30 minutes, until they reach room temperature.
  6. Melt 8 ounces of the chopped semi-sweet chocolate (I did mine in the microwave in 30 second bursts, stirring in between, but you can also melt it in a heat-proof bowl set over a bowl of barely-simmering water).  Once melted and smooth, add in the remaining 2 ounces of chopped chocolate, and stir until smooth.
  7. Holding the tips of the macaroons, dip the bottoms and 1/2″ up the sides of the macaroons.  Scrape off excess chocolate, and set back on the parchment-lined baking sheets to set.
Makes 24-36, depending on how big you make them.

Do you have a recipe or food-related post you’d like to share?  Please link them up here!

Sep 242011
 
I spent the day today at the ABC expo that I shared with you all a few days ago.

I can’t wait to share some of what I saw today; there are some excellent products that I know you’re all going to love.  I met a number of wonderful vendors, including some of the brands you specifically asked to know more about.

If there is anyone else in particular you want me to speak with, it’s not too late!  Leave a comment here, over in the BlogFrog Community, or send me an email.

Off to grab some sleep so I’m ready to hit the ground running tomorrow!

Sep 222011
 

(I do realize it’s Wednesday and not Tuesday; I apologize for getting this up a day late.)

I think my love of bread was born in my grandmother’s kitchen.
My grandmother is an amazing baker and one of her specialties is bread (her others include peanut butter fudge and frosted chocolate brownies).  I grew up spending weekends in the kitchen with her learning how to make bread from scratch.  She would make her bread and rolls in her “grownup” pans, and I would get to make my bread and rolls in little kid-size pans.

We made everything from white bread, oatmeal bread, dinner rolls and sweet, orange-glazed rolls.  It would take the better part of a Saturday, even though we started at the crack of dawn (pre-dawn, when she was baking without me underfoot; I don’t think my grandmother has slept much past 5 a.m. ever in her life).  But the payout was always worth it – the scent of bread baking is a gift from heaven.  We’d chat and bake and when they were all done, we would of course enjoy a slice or roll, fresh and hot – so hot they’d be dripping from the pat of butter that instantly evaporated on contact.  Once everything was cooled, she would portion every thing up, and then make her deliveries.  Family, friends, neighbors – everyone was a beneficiary of my grandmother’s kitchen.  We still are to this day.
Over the past few years “free time” has been one of those elusive things you know exists, but can’t quite find.  I don’t have entire Saturdays (or even an entire hour, some days) to bake.  There aren’t many short cuts with baking – or so I thought until a year or two ago I came across the book Artisan Bread in Five Minutes a Day.  If you love bread but just don’t have the time for the kneading and rising and rolling and rising – you’ll want to get this book.  You can mix bread in literally 5 minutes, toss the dough in the fridge and then pull enough out to make a loaf of bread any day that week.  It’s really quite awesome.

You’ll be the hero of your household, I promise! 

Do you have a recipe or food-related post you’d like to share?  Link it up below!

Sep 202011
 

I’ve mentioned it a few times so I apologize if you’re thinking “okay, we get it”. But…

I love bins and baskets.  File folders and labels.  Binders with plastic sleeves of varying sizes.

I love organizingSwoon.

So I was excited to receive a Dymo LetraTag label maker to review for you all.  So very excited.  I immediately started to think of all the things we owned that I could label which I think made my husband nervous because he sat himself on the couch with Baby C. and watched me warily as I opened it up and inserted the batteries. Continue reading »